Google Forms allows for sending an email to the submitter every time a user submits a form entry. However, this method does not currently support including the submission details into the body of the email.
Fortunately, with the use of Apps Script, you can create a program to do this automatically. You may also style the email to your liking as well. Here is how to get it done.
There are some limitations set by Google. For free Gmail accounts, your account cannot send more than 100 emails per day via Apps Script. This limitation is raised to 1500 with any Google Workspace subscription.
Unless your form is going to have hundreds or thousands of submissions per day, you shouldn’t have to worry.
Collecting Emails Link to heading
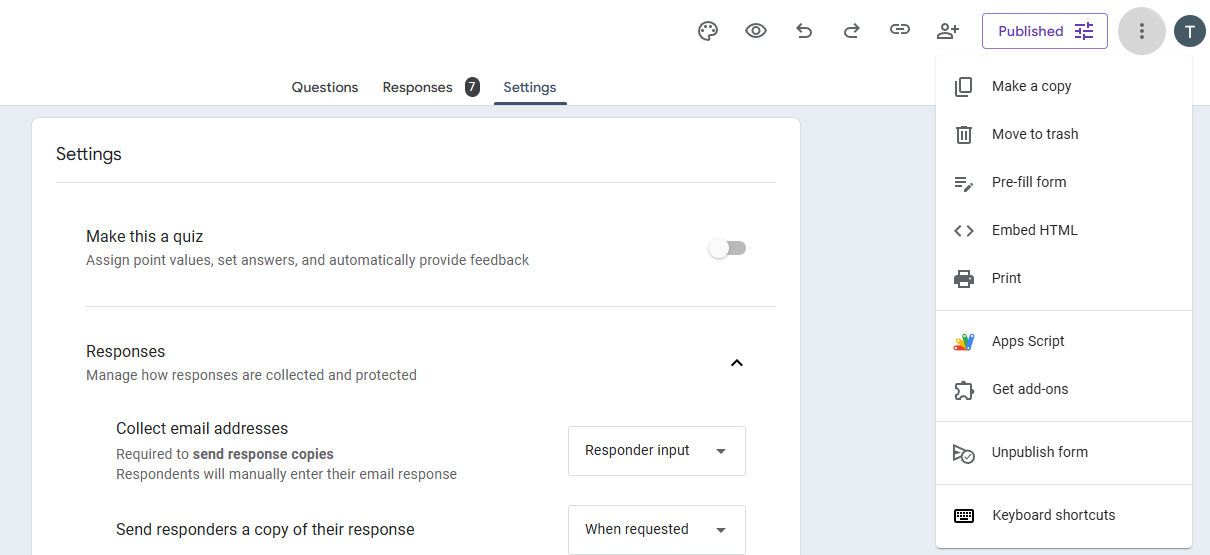
The first step is to enable collecting email addresses. Open your Google Form, select Settings then expand the Responses section. Here, change the value of Collect email addresses to “Responder input” or “Verified”.
Create the Script Link to heading
Next, select the 3 dots at the top bar, then select “Apps Script”. This will open the Google Apps Script window, allowing you to create a script that’s tied directly to the form itself.
Next, replace the default code with this:
function sendEmailOnSubmit(e) {
    try {
        var formResponse = e.response;
        var itemResponses = formResponse.getItemResponses();
        var emailAddress = formResponse.getRespondentEmail(); // Submitter's email address.

        var name = '';

        var message = "";
        var htmlMessage = `<html><body style="font-family: Arial, sans-serif; color: #333;">
            <h1>Some Header </h1>
            <h2>Here's what they had to say: </h2>
            `;

        // htmlMessage contains styling, while message simply contains the text.
        // Use whatever color you'd like here.
        htmlMessage += `<p><strong style="color: #123456; font-size: 1.2em;">Email</strong><br><span style="font-size: 1.05em;">${emailAddress}</span></p>`;
        message += `Email\n${emailAddress}`;

        // Loop through all questions and grab the answers.
        for (var i = 0; i < itemResponses.length; i++) {
            var itemResponse = itemResponses[i];
            var question = itemResponse.getItem().getTitle();
            var response = itemResponse.getResponse();
            if (!response || response.toString().trim() === "") continue; // Skip empty responses.

            // Put each question on its own line, followed by the response.
            message += question + ":\n" + response + "\n\n";

            // Replace any newline characters in the response with the HTML `<br>` tag.
            htmlMessage += `<p>
                <strong style="color: #123456; font-size: 1.2em;">${question}</strong>
                <br>
                <span style="font-size: 1.05em;">${response.replace(/\r\n|\r|\n/g, '<br>')}</span>
                </p>`;

            // Assuming the first question contains the name of the submitter.
            if (i === 0) {
                name = response;
            }
        }

        htmlMessage += "</body></html>";

        var subject = `New Form Submission by ${name}`;
        var recipient = "some@email.com"; // Replace with the email you want to send it to. To include multiple accounts, separate each email with a comma.

        MailApp.sendEmail({
        to: recipient,
        cc: emailAddress, // Optionally CC the submitter's address.
        subject: subject,
        body: message,
        htmlBody: htmlMessage
        });

    } catch (error) {
        Logger.log("Error in sendEmailOnSubmit: " + error.toString());
    }
}
This script will send a stylized email to your account, as well as CC’ing the submitter’s email address.
Create the Trigger Link to heading
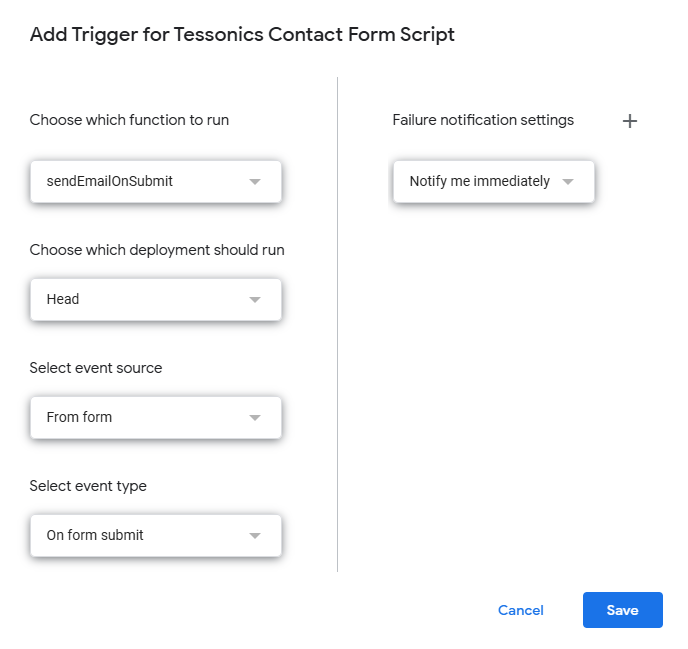
Now, you need to set the script to automatically run when a user submits a form entry. Do this by selecting the clock icon on the left (labelled Triggers), then select Add Trigger.
Select the following details:
- Choose which function to run:
sendEmailOnSubmit(or the function name). - Choose which deployment should run: Head.
- Select event source: From form.
- Select event type: On form submit. This tells the script to run when the user submits a form.
- (Optional) Failure notification settings: Notify me immediately. This will notify you when the script fails.
You are now done! Feel free to test this by submitting a form entry and checking your inbox.